
Can You Replace the Tube of a Mosquito Lamp Yourself
2026-04-29
Can You Replace the Tube of a Mosquito Lamp Yourself? A Complete Guide to Replacement + Pitfall Avoidance
As summer arrives, mosquito lamps become a "mosquito-killing essential" in every household. However, after prolonged use, you may find that the mosquito-attracting effect of the lamp becomes increasingly poor, or even stops working entirely—this is most likely due to an aging or damaged tube. Many people wonder: Can you replace the tube of a mosquito lamp yourself? Will there be safety hazards? In fact, the answer is clear: most tubes of household mosquito lamps can be replaced by yourself. As long as you master the correct method and pay attention to safety details, it is even simpler than changing a light bulb. Today, we will detailedly break down the replacement steps and precautions, so even beginners can easily get started.

I. Not All Mosquito Lamp Tubes Can Be Replaced by Yourself
First, it is necessary to distinguish the types of mosquito lamps. Different types of mosquito lamps have great differences in the difficulty and feasibility of tube replacement, so as to avoid futile efforts or damage.
1. Types of Mosquito Lamps with Replaceable Tubes (Mainstream Household Models)
Most of the mosquito lamps we use daily at home are "detachable". This type of mosquito lamp is designed with later maintenance in mind, so the tube replacement is low in difficulty and suitable for self-operation, mainly including:
• Ordinary UV mosquito traps: The most common household models, the tubes are mostly long strip or circular, the shell is fixed with screws, and the tube can be directly taken out after disassembly;
• Electric shock mosquito lamps: The tube is surrounded by a high-voltage power grid. Although it has certain particularities, it can still be replaced by yourself as long as the power cut and discharge treatment are done well;
• Small desktop mosquito lamps: Small in size, the shell is mostly snap-on design, which can be opened without tools, making tube replacement easier.
2. Types of Mosquito Lamps Not Recommended for Self-Replacement
A few mosquito lamps have an integrated sealed design or involve complex circuits, making tube replacement difficult and even possibly affecting product warranty. It is recommended to contact after-sales service:
• Sealed integrated mosquito lamps: The tube is completely integrated with the shell and circuit, with no reserved disassembly port. Forcibly disassembling it is easy to damage internal parts;
• High-end smart mosquito lamps: Some mosquito lamps with APP control and sensing functions have complex circuit designs, and self-replacement may lead to functional failure;
• Mosquito lamps still under warranty: Some brands stipulate that self-disassembly and tube replacement will lose the warranty qualification, so it is more reliable to contact after-sales service first.

II. 4 Easy Steps to Replace Mosquito Lamp Tube Yourself (Beginner-Friendly)
After confirming that your home mosquito lamp can be replaced by yourself, you don’t need to find a maintenance master. Prepare simple tools and follow the steps, and you can complete the replacement in 10 minutes. The key point throughout the process is to pay attention to "power cut safety".
Step 1: Cut Off Power + Discharge to Build a Solid Safety Line (Top Priority)
Most mosquito lamps adopt the principle of high-voltage electric shock. Even if the plug is pulled out, there may be residual electricity in the internal power grid, and direct operation is easy to cause electric shock. The correct operation is:
1. First pull out the power plug of the mosquito lamp and place it for 5-10 minutes to let the residual electricity inside dissipate naturally;
2. Use a screwdriver with an insulated handle to gently touch the two metal wires of the high-voltage power grid inside the mosquito lamp. If you hear a "pop" sound, it means the residual electricity has been discharged, and it is safer to perform subsequent operations at this time.
In addition, it is recommended to wear gloves or wrap the tube with paper towels to avoid stains and sweat on your hands damaging the tube, and also to prevent the tube from breaking and scratching your hands.
Step 2: Disassemble the Mosquito Lamp Shell and Take Out the Old Tube
The disassembly method of the mosquito lamp shell is slightly different, but the core is to "open the shell and take out the tube", which mainly includes two cases:
1. Screw-fixed type: There will be 2-3 screws on the edge of the mosquito lamp shell. Unscrew the screws with a screwdriver and gently open the shell (be careful not to use too much force to avoid damaging the internal wires);
2. Snap-fixed type: No tools are needed. Gently pull the snaps on the edge of the shell with your hands to open the shell, which is suitable for small desktop mosquito lamps.
After opening the shell, you can see the tube in the middle—the two ends of the tube are clamped on the lamp holder. Gently pinch the part of the tube close to the lamp head and rotate it 90 degrees clockwise or counterclockwise to take the tube out of the lamp holder. Be careful not to touch the exhaust tip at the end of the tube, otherwise the tube will leak and be directly scrapped.
Step 3: Choose a Matching Tube and Install the New Tube Correctly
This step is crucial. A mismatched tube will cause the mosquito lamp to be unusable or even damage the circuit. Pay attention to 3 key points:
1. Confirm the model and specification: Check the marks on the old tube (such as length, power, interface type) or check the mosquito lamp manual to buy a fully matched tube—mosquito lamp tubes are mostly UV fluorescent tubes, common specifications are 10W and 15W, and the interface is mostly rotary or plug-in;
2. Installation method: Align the two ends of the new tube with the lamp holder interface, insert it gently, and then rotate it 90 degrees clockwise or counterclockwise until the tube is firmly fixed to ensure good contact (if the contact is poor, the mosquito lamp may not light up or flicker);
3. Check details: After installation, gently shake the tube to confirm that it will not loosen, and at the same time avoid the tube touching the internal high-voltage power grid to prevent short circuit.
Step 4: Reassemble the Shell and Test with Power On
After installing the new tube, reassemble the shell in the reverse order of disassembly: screw the screws back for the screw-fixed type, and fasten the snaps for the snap-fixed type to ensure that the shell is firmly installed and well sealed.
Finally, plug in the power, turn on the mosquito lamp switch, and observe whether the tube lights up normally—if the tube glows stably, it means the replacement is successful; if it does not light up or flickers, it may be poor contact of the tube. You can re-rotate the tube to adjust, or check whether the tube model matches.

III. Must-See for Replacement: Pitfall Avoidance Guide + Maintenance Tips
Many people have problems such as the mosquito lamp not lighting up or the tube being easily damaged after replacement, which is mostly due to ignoring these details. Doing the following points can not only avoid pitfalls but also extend the service life of the tube.
1. Common Pitfalls to Avoid
• Operation without discharge: Residual electricity may cause electric shock, especially when hands are wet, the electric shock feeling will be more obvious, and even the mosquito lamp may fall and damage parts;
• Mismatched tube model: Different brands and models of mosquito lamps have different tube specifications. Forcible installation will cause circuit failure and even burn the tube;
• Damaging parts due to excessive force: Using too much force when disassembling the shell and taking out the tube may damage the lamp holder, wires or tube seal, leading to the mosquito lamp being unusable;
• Not testing after installation: Directly using an untested mosquito lamp, if the tube contact is poor, it may be in a fault state for a long time, shortening the service life of the mosquito lamp.
2. Tube Maintenance Tips to Extend Service Life
The normal service life of a mosquito lamp tube is about 3000 hours. Doing a good job in maintenance can effectively extend the service time and reduce the replacement frequency:
• Regular cleaning: Clean the mosquito lamp shell and internal power grid once a month to avoid the accumulation of dust and mosquito corpses, which will affect the heat dissipation and mosquito-attracting effect of the tube;
• Standard use: Try to reduce the number of times the mosquito lamp is turned on and off, only once a day, and avoid using it when the mains voltage fluctuates greatly to prevent premature aging of the tube;
• Timely replacement: When the two ends of the tube turn black, the mosquito-attracting effect is significantly reduced, or the tube does not light up, replace the new tube in time to avoid affecting the overall use of the mosquito lamp;
• Correct storage: When not in use for a long time, pull out the power plug, clean it, and place it in a dry and ventilated place to avoid damage to the tube by humid and high-temperature environments.
IV. Summary: Replace the Tube Yourself, Save Money and Worry
In general, for detachable household mosquito lamps, as long as you cut off the power, discharge, and choose a matching tube, you can completely replace it by yourself. The steps are simple, time-consuming, and can save maintenance costs. For sealed, smart models or mosquito lamps still under warranty, it is recommended to contact after-sales service first to avoid damage caused by self-disassembly.
Mosquito lamps are used frequently in summer. Mastering the tube replacement method in advance, you will no longer have to idle the mosquito lamp due to tube damage, and easily get rid of mosquito troubles~ If you encounter problems during the replacement process, welcome to leave a message in the comment area to communicate!
2026 New Mosquito Killer Lamp
Why Is Killing Pests Considered Immoral in Some Countries
Related Article
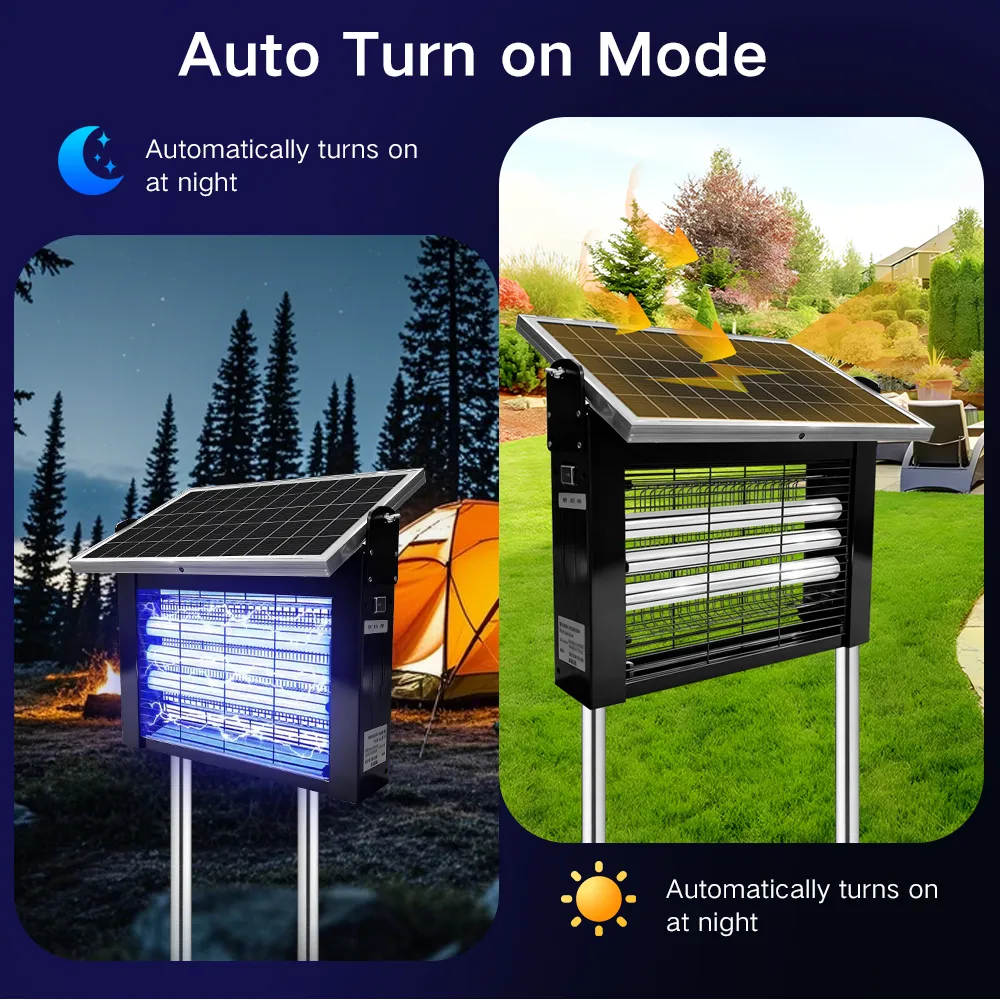
Throughout 2023 and most of 2024, solar outdoor mosquito killer lamps remained a niche, secondary product category. On Amazon, these items were mostly categorized as patio decor with basic mosquito-killing functionality. Each individual ASIN only generated 8,000–15,000 units in annual sales, failing to gain traction as mainstream outdoor and garden merchandise.
Solar Outdoor Mosquito Killer Lamps Wholesale Buyer Guide

Most importers treat an OEM mosquito swatter order as a single transaction: send a sketch, get a sample, place a PO. In practice, every project that ships late in the first 18 months of a brand breaks down for the same five reasons — undefined artwork handoff, tool-making left until after PO confirmation, certification testing ordered in parallel with sampling, and packaging dielines frozen too late.
OEM Swatter Manufacturing Project Management
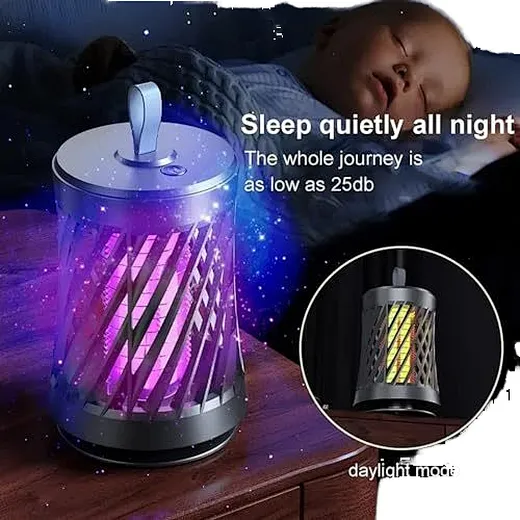
The charging port is no longer a minor accessory detail for mosquito swatters and UV mosquito killer lamps in 2026. It has become a core indicator that determines product price tiers, EU market eligibility, after-sales failure rates, and global buyer preference. For exporters, distributors, and retail buyers, choosing between Type-C and Micro-USB directly impacts profitability, compliance risks, and market competitiveness.
Type-C vs Micro-USB on Mosquito Swatters and Killer Lamps

Mosquitoes are more than just annoying summer pests—they carry harmful pathogens that cause Zika, dengue, West Nile virus, and other serious illnesses. While store-bought sprays, repellents, and DIY traps offer temporary relief, they fail to address mosquito infestations at the source.
What Do Pest Control Companies Use for Mosquitoes