
Complete Calibration Steps for First Use of an Electronic Scale
2026-06-11
Complete Calibration Steps for First Use of an Electronic Scale | Beginner’s Zero-Base Accuracy Guide
Many people turn on a new electronic scale and start weighing items directly, only to encounter significant deviations and unstable readings. Few people know the root cause: brand-new electronic scales require professional initial calibration after leaving the factory, transportation or repositioning. The load cell of an electronic scale is affected by transportation vibration, ambient temperature and placement conditions, so the default parameters cannot adapt to the current usage environment and will inevitably cause measurement errors.
The initial calibration logic applies to most household kitchen scales, high-precision portable jewelry scales and small commercial electronic scales. This article provides a complete, beginner-friendly calibration process with simple and highly operable steps, helping you solve inaccurate and fluctuating weighing results independently.

1. Why Do New Electronic Scales Need Initial Calibration?
It is a common misconception that new scales are fully calibrated at the factory and ready for immediate use. Factory calibration is completed under standardized laboratory conditions. The internal stress state of the load cell will change during warehousing, long-distance transportation and handling vibration.
In addition, household and studio usage environments differ greatly from the constant-temperature, horizontal and interference-free factory calibration environment. Countertop flatness, air flow and temperature differences can all slightly affect weighing accuracy. Data shows that uncalibrated new electronic scales generally have errors of 0.2g to 2g, with more noticeable deviations for high-precision small-range scales.
Besides first-time use, recalibration is recommended after moving the scale, long-term idleness, extreme temperature changes or battery replacement to ensure consistent and accurate weighing data.
2. Pre-Calibration Preparation: 4 Key Steps for a 100% Successful Calibration
The core prerequisites for accurate calibration are a stable environment and normal equipment status. Inadequate preparation will lead to deviations even with standard operating procedures. Beginners must complete the following preparations in advance.
2.1 Select a Qualified Placement Surface
Place the scale on a hard, flat, horizontal and stable surface such as a solid wood table, marble countertop or cement table. Avoid glass surfaces, soft cushions, suspended or tilted countertops. Soft surfaces buffer force bearing, and tilted surfaces cause uneven stress on the load cell, directly resulting in calibration failure. Adjust the adjustable feet at the bottom of the scale to center the horizontal bubble.
2.2 Eliminate Equipment and Environmental Interference
Wipe the weighing pan and scale body thoroughly to remove dust, water stains and debris, ensuring a clean and unobstructed weighing surface. Keep the scale away from fans and air conditioners to avoid reading fluctuations caused by air flow. Keep it away from vibrating equipment and high-power electrical appliances to prevent accuracy errors from mechanical vibration and electromagnetic interference.

2.3 Ensure Sufficient Power Supply
Low power is a common cause of weighing deviations and calibration failures. Replace with brand-new batteries for battery-powered scales, or fully charge rechargeable scales before calibration. Maintain continuous power supply throughout the process to avoid interruption.
2.4 Stabilize the Device by Preheating
Do not calibrate immediately after turning on a new scale. Let it stand and preheat for 3 to 5 minutes. This allows the internal circuits and load cell to adapt to the ambient temperature and eliminates reading drift caused by cold start, a critical step for high-precision measurement that most beginners overlook.
3. Complete Step-by-Step Initial Calibration Procedure (Universal Standard Version)
The following steps apply to over 90% of household and small commercial electronic scales, covering the two core procedures: zero calibration and range calibration. No professional tools are required for beginner operation. Key button operations may vary slightly by brand; refer to the official manual for minor adjustments.
Step 1: Basic Tare to Clear Initial Errors
After preheating, ensure no items are placed on the weighing pan and check the screen reading. If the display is not 0.00, short press the TARE / Zero / Peel key to reset the reading to zero. This eliminates initial errors caused by the scale’s self-weight and slight surface stress, laying a foundation for accurate calibration.
Step 2: Enter Professional Calibration Mode
The universal method to enter calibration mode is simple: long press the CAL key for 3 to 5 seconds until the screen flashes CAL or PUT, or shows jumping numbers, indicating successful entry into calibration mode.
If there is no independent CAL key, try long pressing the [TARE + MODE] combination key or the standalone MODE key, following the on-screen prompts. Do not touch or cover the scale and keep it stationary during calibration mode.
Step 3: Precise Zero Calibration (Core Step 1)
After entering the calibration interface, the screen usually flashes ZERO or 0.00, waiting for zero calibration confirmation. Keep the weighing pan empty, clean and stationary for 3 to 5 seconds until the reading stabilizes. Short press the confirm key to complete zero calibration, and the scale will automatically switch to the range calibration interface.
Step 4: Range Calibration with Standard Weights (Core Step 2)
Range calibration determines overall weighing accuracy. Standard calibration weights (with higher precision than the scale itself) are mandatory. Never use substitutes such as coins or water cups, as they will invalidate the calibration directly.
The screen will prompt the required weight specification (common values: 100g, 200g, 500g, 1000g). Place the corresponding standard weight stably at the center of the weighing pan without tilting, edge placement or touching the scale body. Let it stand for 5 to 10 seconds for the device to identify the weight and complete automatic sampling calibration.
Step 5: Complete Calibration and Exit the Mode
Calibration is finished when the screen reading stabilizes and stops flashing, or displays END/OK. Remove the weight, and the scale will automatically restart or return to the normal weighing interface for official use.

4. Post-Calibration Verification: Confirm Valid Calibration and Avoid Hidden Errors
Do not use the scale immediately after calibration. Complete the following two verification steps to confirm valid results.
1. No-load Verification: Keep the weighing pan empty and stationary for 10 seconds. A stable 0.00 reading without fluctuation or drift indicates qualified zero calibration.
2. Load Verification: Place the same standard weight on the pan again. The calibration is qualified if the screen reading is consistent with the marked weight or within the allowable error range (≤0.1g for household scales). Recalibrate from scratch if there is an obvious deviation.
5. Common Initial Calibration Mistakes to Avoid for Beginners
Persistent inaccurate readings after calibration are mostly caused by operational errors. Here are 4 high-frequency mistakes to avoid:
1. Using non-standard substitutes for calibration: Coins and mobile phones have inherent tolerance errors and low precision, leading to large weighing deviations after calibration.
2. Touching the scale during calibration: Shaking or touching the scale during sampling disturbs load cell stress and causes chaotic calibration data.
3. Calibrating in substandard environments: Calibration in windy, vibrating, uneven or low-power conditions directly leads to failure and reading drift.
4. Skipping preheating: Cold-started sensors are unstable with fluctuating readings, resulting in poor calibration accuracy.
6. Recommended Calibration Frequency
1. Mandatory full calibration for new scales, scales idle for more than 1 month, and repositioned scales;
2. Household use: Calibrate once every 1 to 2 months to maintain daily accuracy;
3. High-precision and commercial use: Calibrate once every half month, with increased frequency in seasons with extreme temperature changes.
Conclusion
The accuracy of an electronic scale depends entirely on standardized initial calibration. Every calibration step is scientific and rigorous, including environmental preparation, device preheating, zero calibration and range calibration. Following this complete procedure restores your new scale to factory-level precision, eliminates inaccurate and fluctuating readings, and meets the needs of baking, laboratory testing, jewelry weighing, commercial measurement and other scenarios.
The Impact of AI Technology on Electric Mosquito Swatter Manufacturers
Do UV Mosquito Lights Work on Flies
Related Article
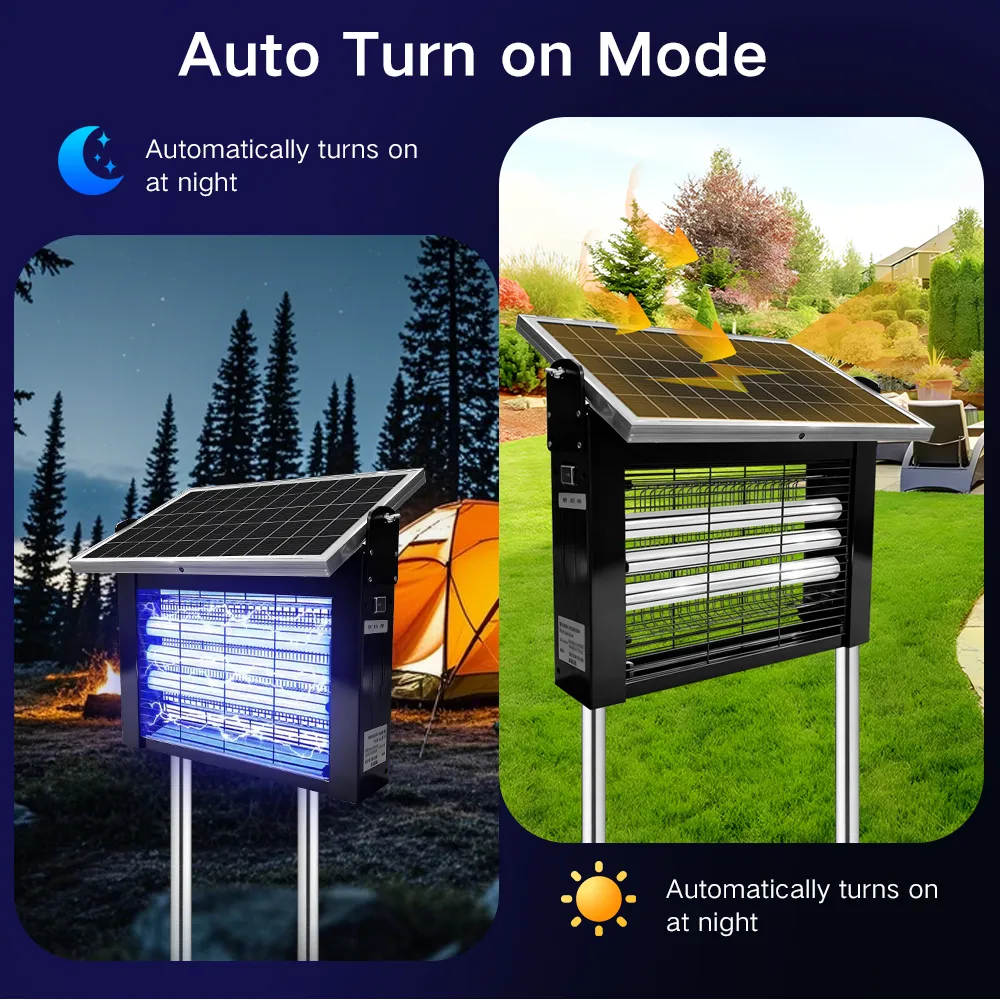
Throughout 2023 and most of 2024, solar outdoor mosquito killer lamps remained a niche, secondary product category. On Amazon, these items were mostly categorized as patio decor with basic mosquito-killing functionality. Each individual ASIN only generated 8,000–15,000 units in annual sales, failing to gain traction as mainstream outdoor and garden merchandise.
Solar Outdoor Mosquito Killer Lamps Wholesale Buyer Guide

Most importers treat an OEM mosquito swatter order as a single transaction: send a sketch, get a sample, place a PO. In practice, every project that ships late in the first 18 months of a brand breaks down for the same five reasons — undefined artwork handoff, tool-making left until after PO confirmation, certification testing ordered in parallel with sampling, and packaging dielines frozen too late.
OEM Swatter Manufacturing Project Management
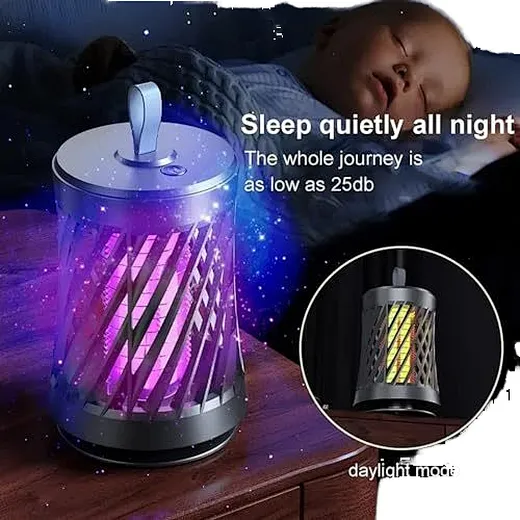
The charging port is no longer a minor accessory detail for mosquito swatters and UV mosquito killer lamps in 2026. It has become a core indicator that determines product price tiers, EU market eligibility, after-sales failure rates, and global buyer preference. For exporters, distributors, and retail buyers, choosing between Type-C and Micro-USB directly impacts profitability, compliance risks, and market competitiveness.
Type-C vs Micro-USB on Mosquito Swatters and Killer Lamps

Mosquitoes are more than just annoying summer pests—they carry harmful pathogens that cause Zika, dengue, West Nile virus, and other serious illnesses. While store-bought sprays, repellents, and DIY traps offer temporary relief, they fail to address mosquito infestations at the source.
What Do Pest Control Companies Use for Mosquitoes