
How to Make a Tesla Coil from a Bug Zapper
2025-05-27
How to Make a Tesla Coil from a Bug Zapper
In this blog post, we're going to explore an exciting project: how to make a Tesla coil using a common bug zapper. Tesla coils can generate fascinating electrical arcs and electromagnetic effects, and bug zappers happen to have useful components inside. Let's get started!
Materials and Tools Needed

Before you start the construction, make sure you have the following materials and tools ready:
- Materials:
-
- An old bug zapper
-
- Enamelled copper wire (for making the coils)
-
- Capacitors
-
- Resistors
-
- Transistors
-
- An iron nail or rod (as the magnetic core)
-
- Insulating tape
- Tools:
-
- Screwdriver
-
- Pliers
-
- Multimeter
-
- Soldering iron and solder
Disassembling the Bug Zapper

- First, make sure the bug zapper is unplugged and has been left for some time to allow the internal capacitors to fully discharge to avoid the risk of electric shock.
- Use a screwdriver to carefully open the casing of the bug zapper and observe the internal structure. Locate the step-up circuit part of the bug zapper, which is the key component we're going to use.
- Disconnect other components that are not related to the step-up circuit, leaving only the step-up circuit part, and carefully remove it for later use.
Building the Tesla Coil
Making the Primary Coil
- Take an appropriate length of iron nail or rod as the magnetic core. Wrap the enamelled copper wire tightly around the core, making about 20 - 30 turns to form the primary coil. Try to keep the turns as close together as possible with minimal gaps.
- Secure the primary coil with insulating tape to prevent it from coming loose.
Making the Secondary Coil
- Select a larger hollow cylinder (such as a plastic tube) as the framework for the secondary coil.
- Wrap the enamelled copper wire tightly and evenly around the framework. The number of turns is usually in the hundreds to thousands, and the specific number can be adjusted according to actual needs and the length of the enamelled copper wire. Keep the spacing between each turn consistent during the winding process to ensure the performance of the coil.
- Fix the secondary coil with insulating tape in the same way to prevent the coil from shifting.
Circuit Connection
- Connect the step-up circuit disassembled from the bug zapper with the primary coil, capacitors, resistors, transistors, etc. according to the circuit diagram. Pay attention to the polarity and connection sequence of each component during the connection process to ensure correct connection.
- Use a soldering iron to solder each component firmly to avoid poor soldering or loose connections. After soldering, use a multimeter to check whether the circuit is connected properly and whether there are any short circuits or open circuits.

Safety Precautions and Testing
Safety Precautions
- Always be careful during the construction and operation of the Tesla coil, as it generates high voltage, which can cause serious electric shock injuries.
- Make sure your hands are dry before operating, and there are no wet items in the work area.
- Do not use the Tesla coil in an environment with flammable materials.
Testing the Tesla Coil
- Connect the completed Tesla coil to a suitable power source (make sure the power supply voltage matches the circuit).
- Turn on the power switch and observe whether the Tesla coil works normally. If everything is okay, you should be able to see electrical arcs generated by the secondary coil and hear a distinctive buzzing sound.
- If the Tesla coil does not work properly, turn off the power, use a multimeter to check the circuit, look for possible fault points such as connection errors or component damage, and make repairs.
By following the above steps, you can make a simple Tesla coil using a bug zapper. Enjoy the fun of exploring the electromagnetic world!
DIY Mosquito Trap
How Do I Kill Mosquitoes
Related Article
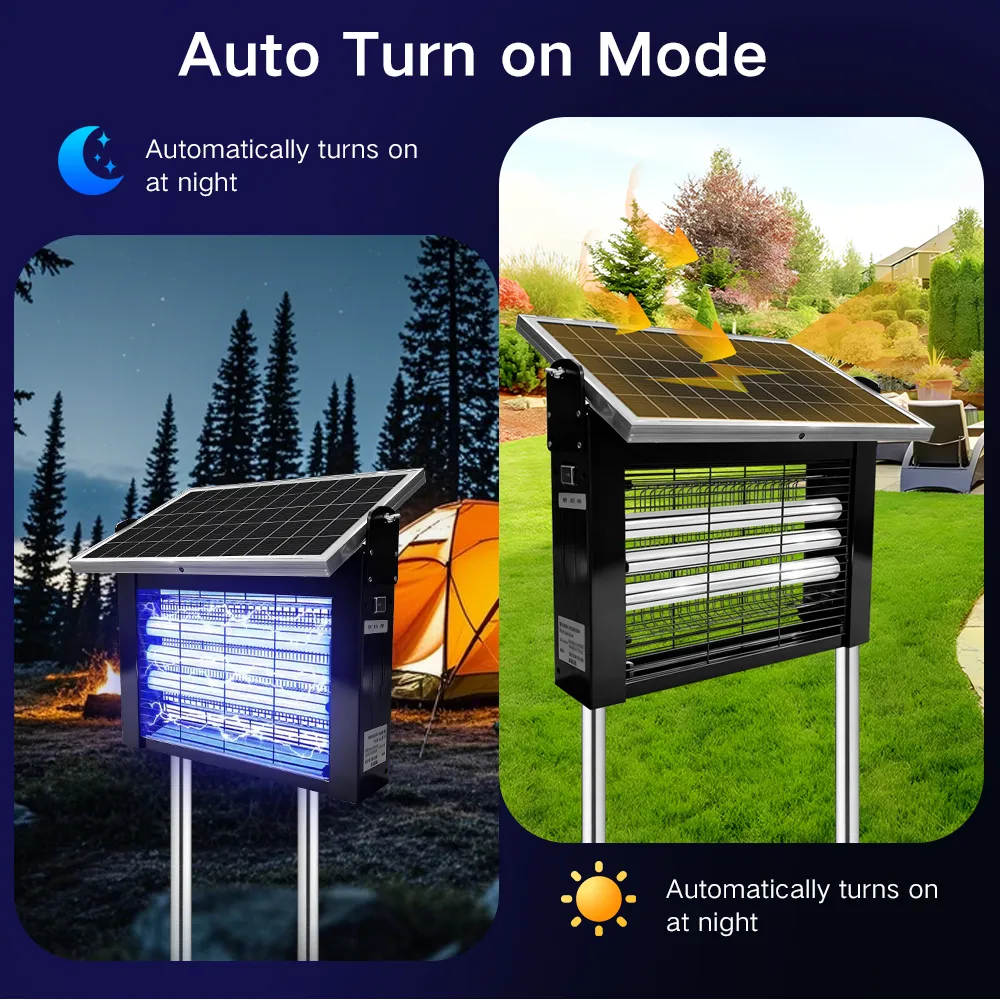
Throughout 2023 and most of 2024, solar outdoor mosquito killer lamps remained a niche, secondary product category. On Amazon, these items were mostly categorized as patio decor with basic mosquito-killing functionality. Each individual ASIN only generated 8,000–15,000 units in annual sales, failing to gain traction as mainstream outdoor and garden merchandise.
Solar Outdoor Mosquito Killer Lamps Wholesale Buyer Guide

Most importers treat an OEM mosquito swatter order as a single transaction: send a sketch, get a sample, place a PO. In practice, every project that ships late in the first 18 months of a brand breaks down for the same five reasons — undefined artwork handoff, tool-making left until after PO confirmation, certification testing ordered in parallel with sampling, and packaging dielines frozen too late.
OEM Swatter Manufacturing Project Management
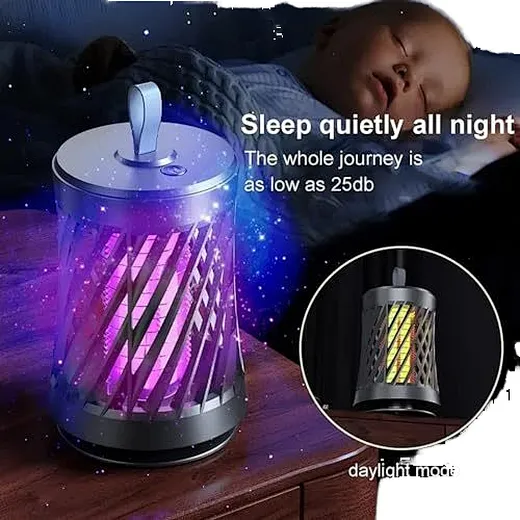
The charging port is no longer a minor accessory detail for mosquito swatters and UV mosquito killer lamps in 2026. It has become a core indicator that determines product price tiers, EU market eligibility, after-sales failure rates, and global buyer preference. For exporters, distributors, and retail buyers, choosing between Type-C and Micro-USB directly impacts profitability, compliance risks, and market competitiveness.
Type-C vs Micro-USB on Mosquito Swatters and Killer Lamps

Mosquitoes are more than just annoying summer pests—they carry harmful pathogens that cause Zika, dengue, West Nile virus, and other serious illnesses. While store-bought sprays, repellents, and DIY traps offer temporary relief, they fail to address mosquito infestations at the source.
What Do Pest Control Companies Use for Mosquitoes